
 English
  Español
  Français
  Português
  Deutsch
  日本語
日本語  한국어
한국어  Türkçe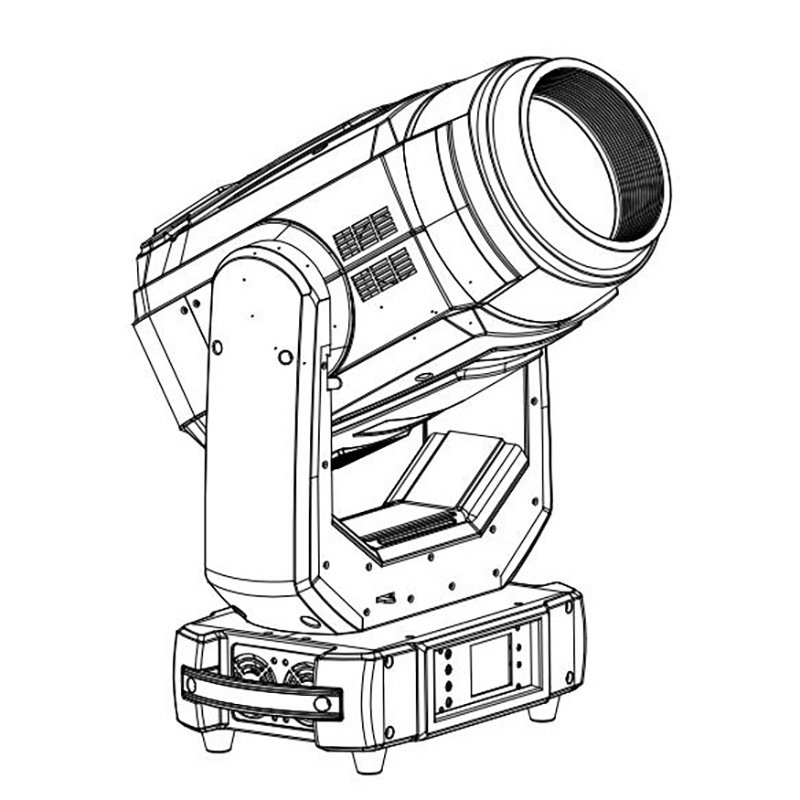
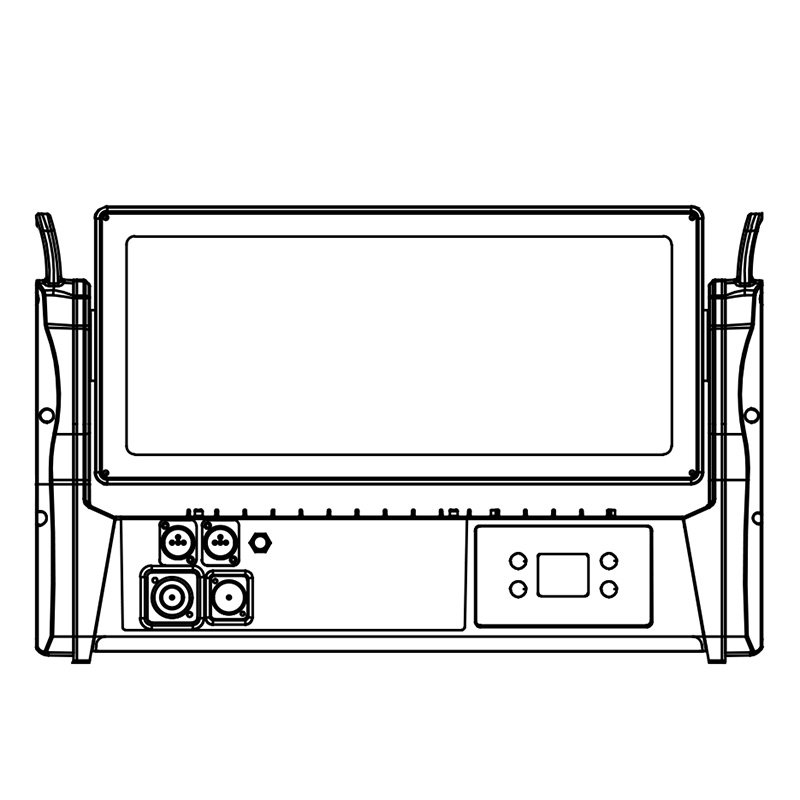
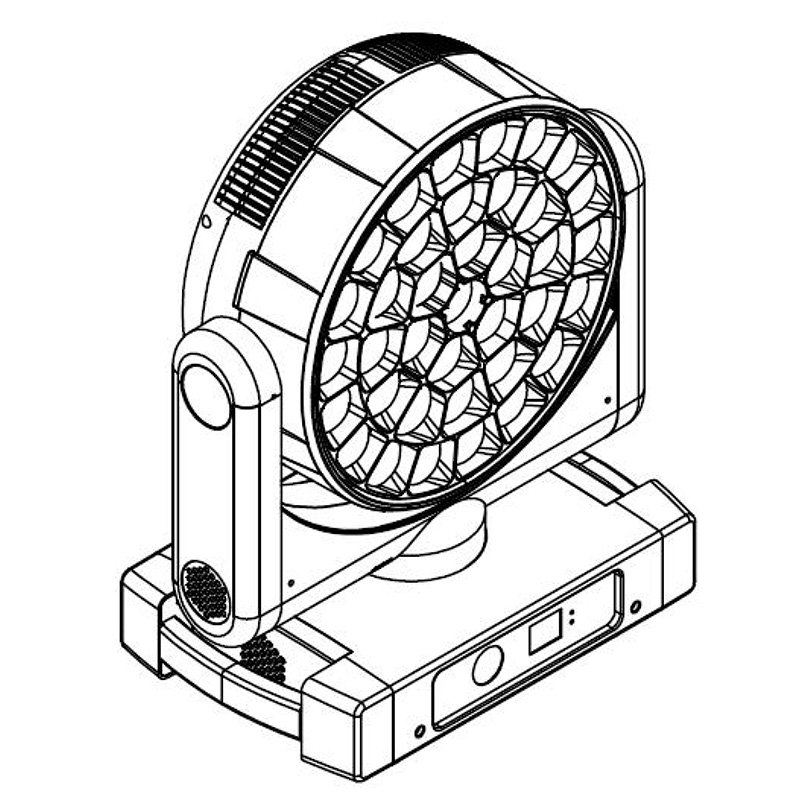
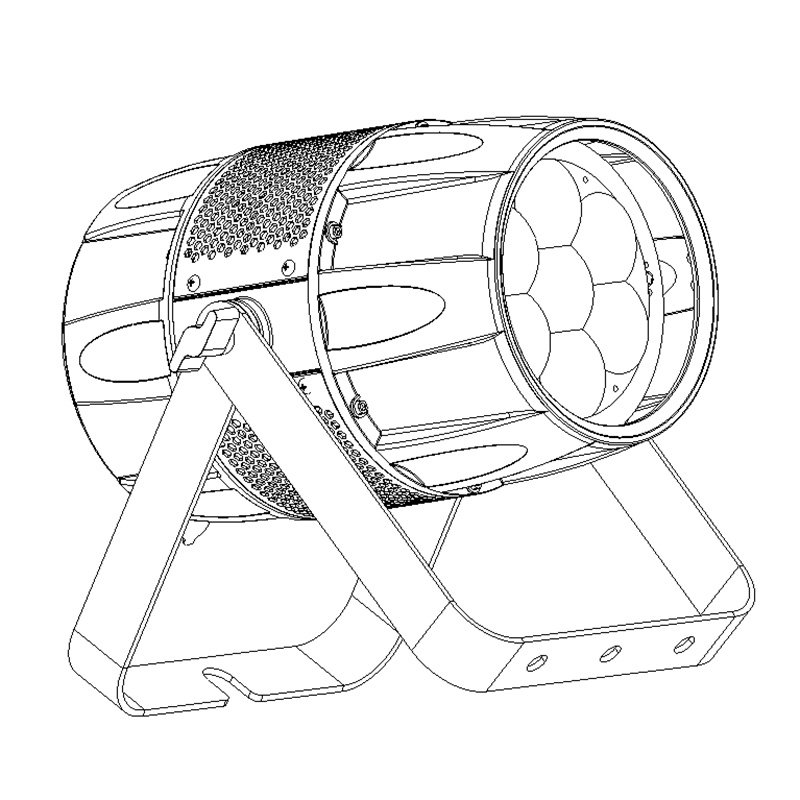
Quick Answer
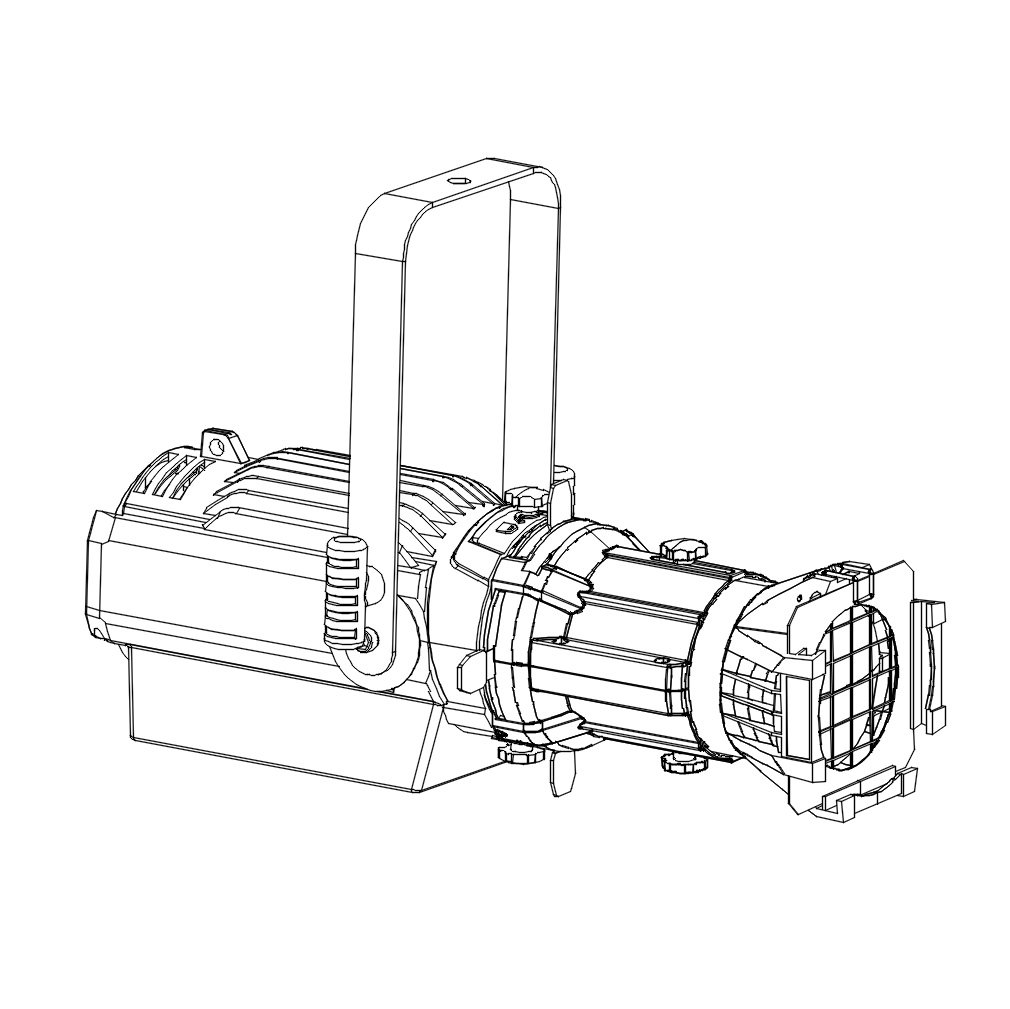
Choose an LED profile spotlight by defining the throw distance, target size, installation position, camera use and noise limit before comparing fixtures. Request photometric data for the required lens or zoom position, then sample-test beam quality, framing, color, flicker, dimming, fan noise and service access. A static profile uses a fixed yoke and lens tube; a profile moving head adds motorized pan/tilt. They solve different problems and should not be compared by watts alone.
What Is an LED Profile Spotlight?
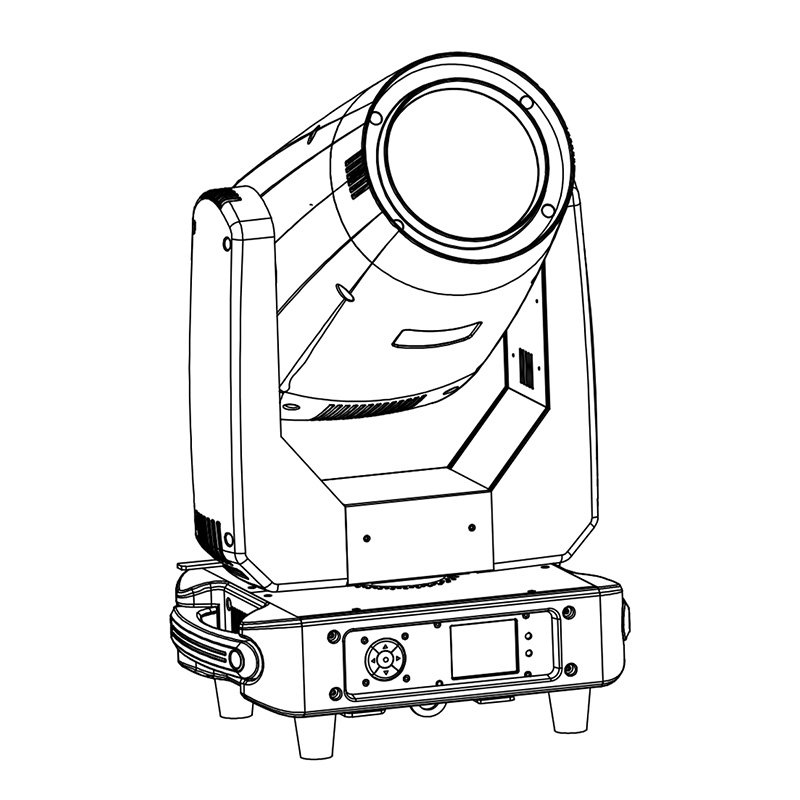
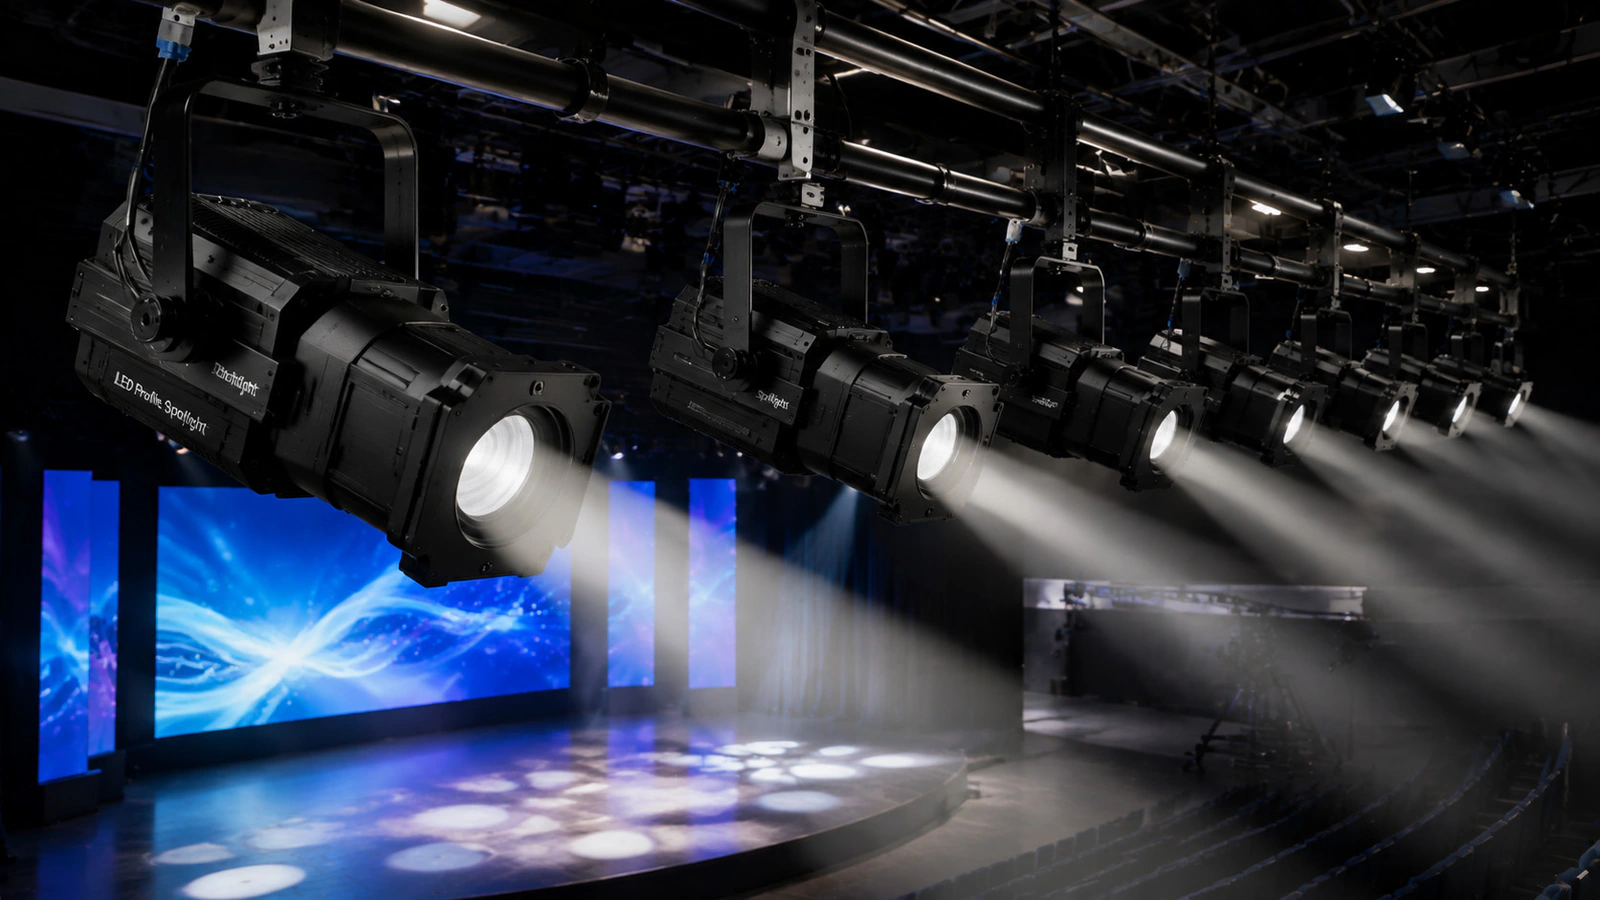
An LED profile spotlight is a projection-style stage luminaire that creates a controlled, usually hard-edged field. It normally has a fixed mounting bracket or yoke, a body containing the LED engine and controls, and a lens tube or integrated optical barrel. Manual framing shutters crop the field, while focus makes the shutter or gobo edge sharp or soft.
The fixture is also called a theatre profile light or LED ellipsoidal spotlight in some markets. Naming varies, so the RFQ should describe the required optics and controls instead of relying on one product label.
A static LED profile is useful when the aim stays fixed: a theatre acting area, a lectern, a studio presenter, a museum object or an architectural detail. Its value comes from controlled light placement, not from a single wattage number.
Static Profile Spotlight vs Profile Moving Head
| Decision factor | Static LED profile spotlight | Profile moving head |
|---|---|---|
| Positioning | Manually aimed on a fixed yoke | Motorized pan and tilt |
| Framing | Usually manual shutters | Console-controlled framing module |
| Optics | Fixed lens tube or manual/motorized zoom, depending on model | Motorized zoom and focus are common but model-specific |
| Cue changes | Suited to stable focus positions | Repositions and reshapes during cues |
| Noise and complexity | Can be simpler; still verify fan behavior | More motors and automated systems to test |
| Typical purchase reason | Precise key light in a fixed position | Flexible automated specials and moving cues |
Do not buy a profile moving head simply because it has a larger source or more effects. Do not buy a static profile if the production needs remote repositioning. The refreshed profile moving head guide explains the automated option in detail.
1. Define the Venue, Target and Throw Distance
Start with geometry. Record the shortest and longest throw, mounting height, horizontal offset, target width and height, required edge sharpness and any obstructions. A fixture that covers a two-metre lectern area at eight metres is a different selection from one projecting a narrow breakup gobo from a balcony.
For each position, note whether the profile provides front, side, back or scenic light. Decide how much spill is acceptable on curtains, walls, projection screens or video displays. In a conference hall, control may matter more than dramatic intensity. In a museum, heat, UV policy and visual comfort may be additional constraints that require the venue specialist’s approval.
Give this geometry to the supplier. Ask for a lens recommendation and a field-size calculation, then validate it with a sample at a comparable throw.
2. Compare Output, Beam Quality and Photometric Evidence
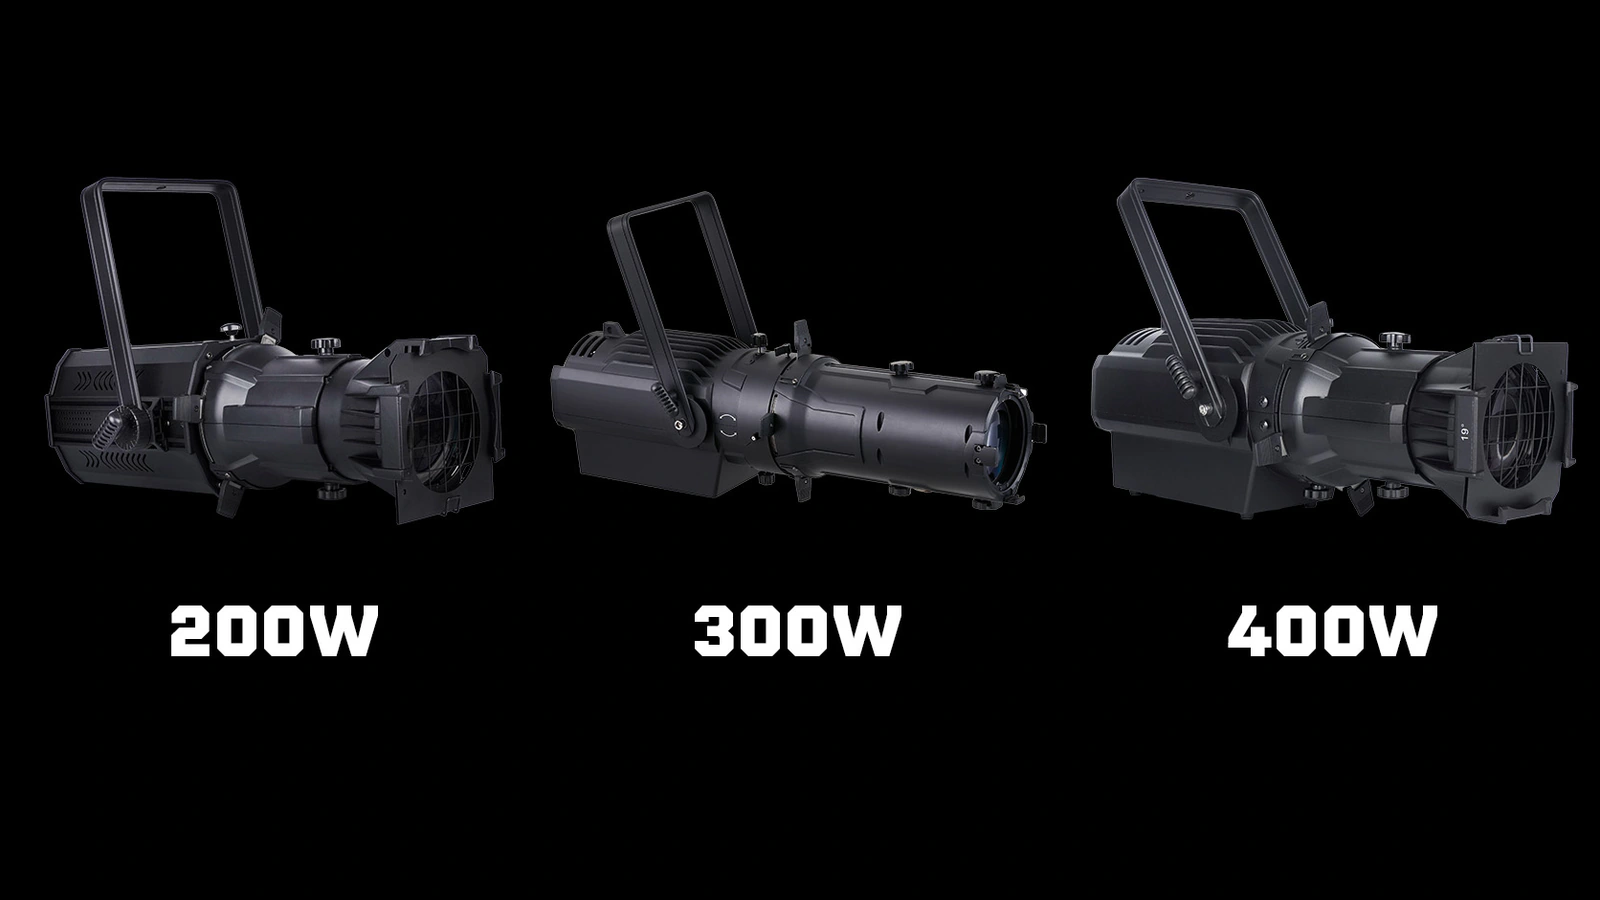
Source wattage is an electrical or component descriptor, not a result at the stage. Optical efficiency, lens choice, zoom setting, thermal control and field uniformity all affect useful light.
Request photometric evidence that identifies:
- exact model and lens or zoom position;
- test distance and measurement method;
- beam or field angle definition;
- center and distribution measurements, not only a peak number;
- CCT and output mode used for the test;
- field size at the test plane.
During a sample test, project onto a neutral target. Look for a hotspot, dark center, colored rim, double edge, uneven focus or excessive spill. Measure the target area, not merely the brightest point. If two CCTs or color engines are being compared, test both under the same conditions.
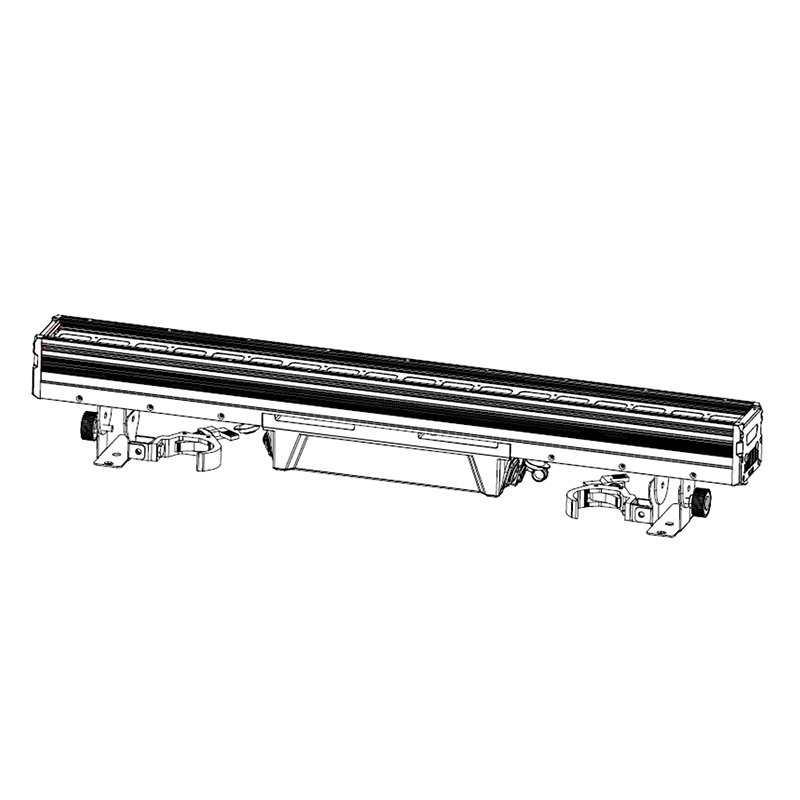
The AOLAIT LED Studio Light category provides current model options. Product pages remain the owner of model specifications; this guide explains how to evaluate the evidence.
3. Choose a Fixed Lens or Zoom Lens
A fixed lens tube is designed for a defined angle range and can be a practical choice when positions are known. A zoom profile changes the field size without swapping a tube, which helps rental fleets and multi-use venues. Zoom convenience can involve trade-offs in weight, cost, output or optical behavior, so test rather than assume.
| Choose fixed optics when… | Choose zoom optics when… |
|---|---|
| The throw and target are permanent | Room layouts and throw distances change |
| The venue stocks compatible lens tubes | Fast refocusing is more valuable than lens inventory |
| A specific optical result has been validated | One fixture must cover several field sizes |
| Simplicity and predictable setup are priorities | Rental or conference work needs flexibility |
Current static profile options can be reviewed in AOLAIT’s LED Studio Light category. Because specifications, optical configurations and available models can change, confirm the current datasheet, lens compatibility and sample configuration before ordering.
4. Check Framing Shutters, Iris, Gobo and Focus
Move every framing shutter across the beam. Create a rectangle, a narrow vertical strip and an asymmetric shape. Check whether edges are straight enough, whether all shutters reach the useful area and whether the lens focuses the shutter plane across the intended field.
If the fixture accepts gobos, confirm holder size, image size, material and safe operating guidance. Test the focus difference between the gobo and shutter planes. An iris, if offered, creates a circular aperture; it does not replace framing shutters. Accessories should be listed in the quotation because a catalogue image may show items that are optional.
Ask how shutters and lens tubes are retained, especially for overhead use. Confirm approved accessory and safety methods in the model manual.
5. Evaluate CRI, TLCI, TM-30, CCT and Skin Tones
CRI can help describe color fidelity, but one average value does not show every hue. The ANSI/IES TM-30-24 method reports overall fidelity, gamut and hue-specific changes. For costume, scenery, artwork or branded colors, request the complete report for the exact LED engine and CCT rather than a badge in a brochure.
Broadcast buyers can also review EBU Tech 3355 / TLCI-2012, which evaluates color through a standard television-camera model. The EBU page may show a later republication record, but TLCI-2012 should not be described as a new 2026 standard. TLCI is not a substitute for shooting a test with the production camera, but it provides evidence beyond a generic “camera-ready” statement.
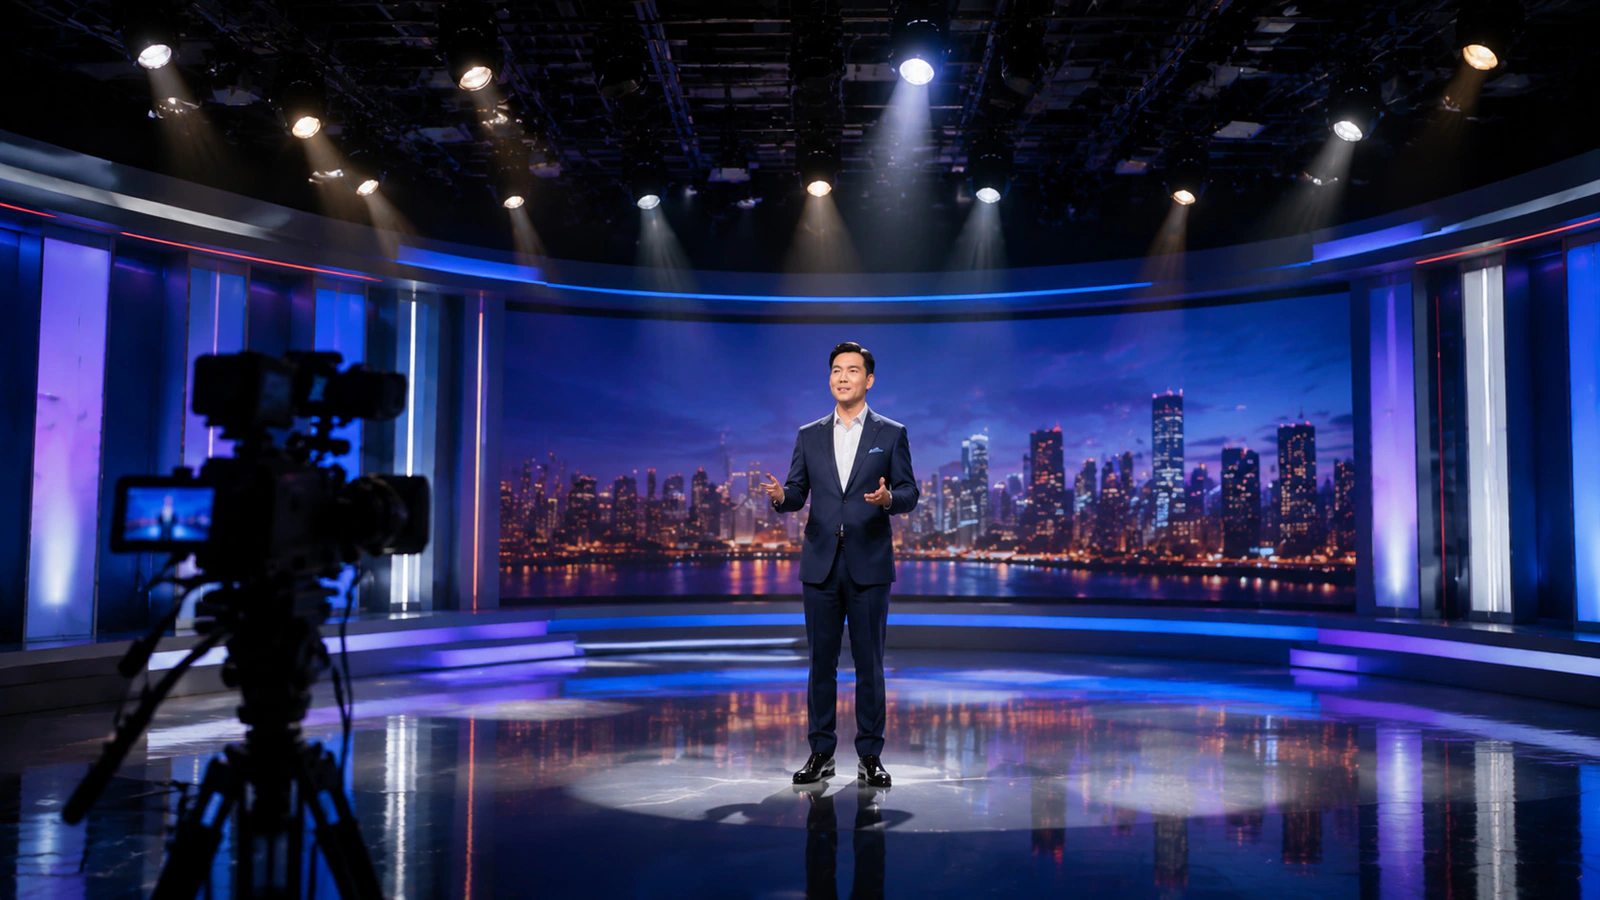
For CCT, identify whether the project needs one fixed white, variable white or color mixing. Compare units on skin, fabrics, a neutral grey and saturated samples. Check tint, fixture-to-fixture consistency and dimming behavior. If replacement units must match years later, ask how LED-engine and calibration changes are managed.
6. Test PWM, Flicker and Camera Performance
LED dimming often uses pulse-width modulation or another electronic method. A fixture can look steady to the eye and still produce bands or exposure variation on camera. “Flicker-free” is incomplete unless test settings are stated.
Use the planned camera bodies, frame rates, shutter angles or shutter speeds. Test full output, mid-level and very low dimmer levels; also record slow fades and mixed-color states when applicable. Let the sample reach operating temperature and repeat the critical shots. Ask the supplier to identify available PWM-frequency or camera modes and any trade-off in dimming, noise or output.
7. Measure Fan Noise and Review Thermal Management
Theatre and studio noise limits depend on distance to the audience and microphones. Test from the real listening position, not only beside a busy factory floor. Cycle through standard, quiet and automatic modes if the exact model provides them. Record whether a quiet mode reduces output.
Inspect the air path, filters and cleaning access. Ask what happens at high ambient temperature and how the fixture reports thermal problems. A long sample run should reveal unexpected fan changes or output reduction, but it cannot prove lifetime. Avoid lifetime claims without a documented test basis.
8. Confirm DMX, RDM, Dimming and Control
Request the current channel chart before purchase. Confirm connector type, addressing, dimmer resolution, strobe behavior, control of CCT or color, and the response after DMX loss or power interruption. RDM can support remote discovery or configuration when implemented, but it should be verified on the exact model and control system.
ANSI E1.11-2024 / DMX512-A is the current entertainment-lighting control standard name used for this buyer check. The ESTA Technical Standards Program is the primary source for current published documents. AOLAIT’s DMX512 engineer guide explains practical system concepts.
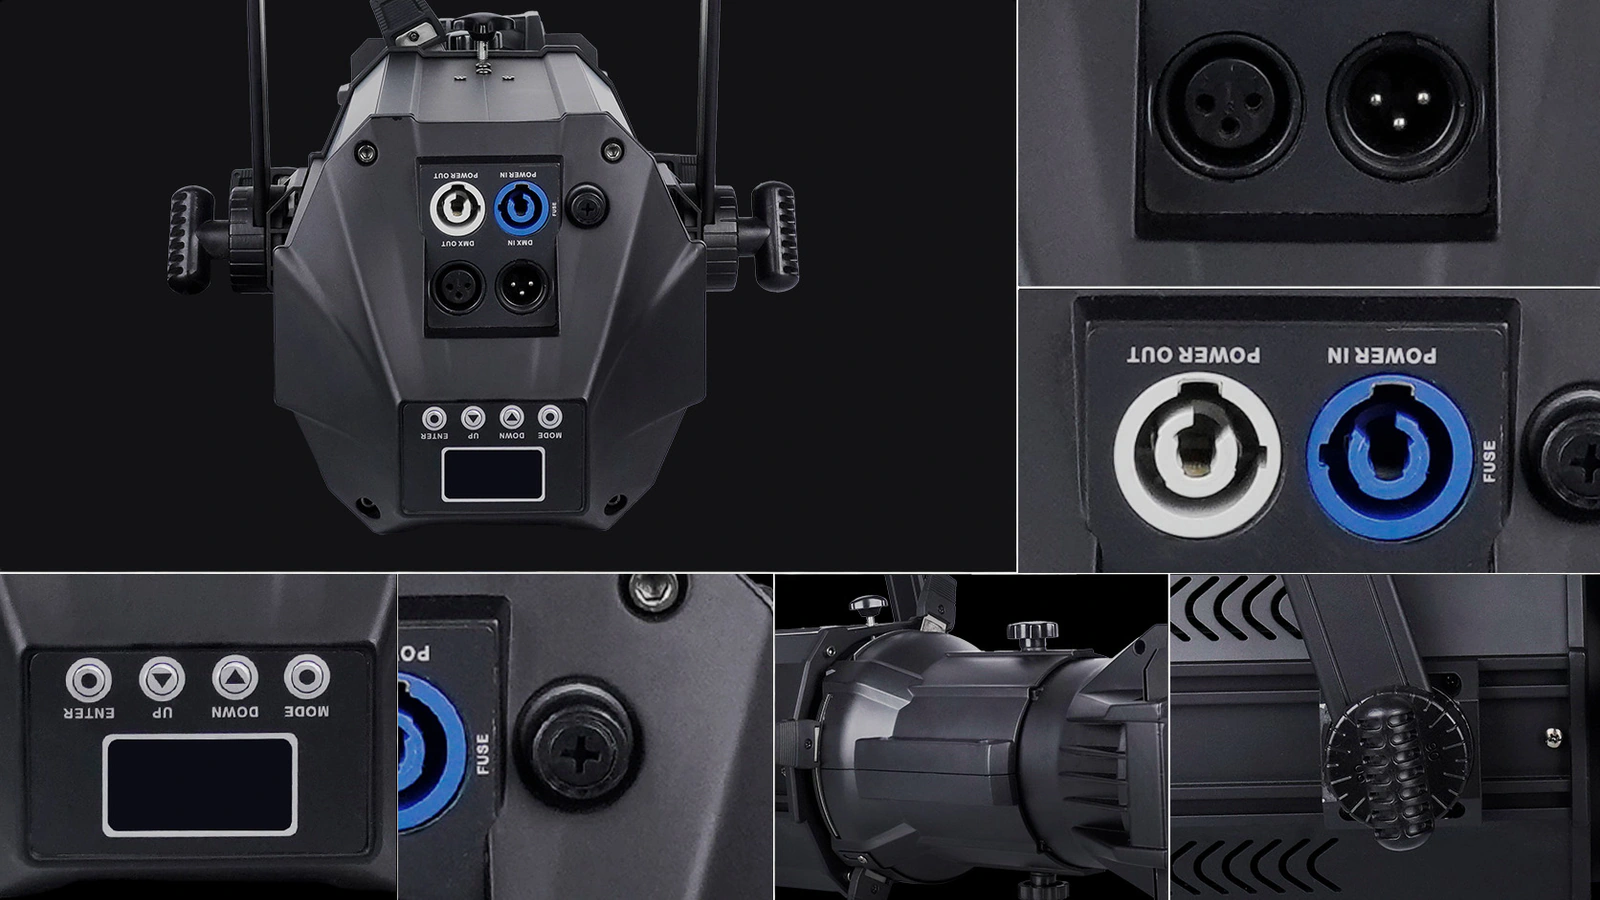
For theatre cues, test black-level behavior, slow fades, dimming curves and transitions between low values. A smooth showroom fade at one setting does not guarantee the same result in every channel mode.
9. Check Power, Rigging, Weight and Service Access
Confirm rated input, connector system, power-factor information where relevant, inrush considerations, daisy-chain limits and local electrical requirements. The model manual and qualified electrical design—not a blog—should determine circuit loading.
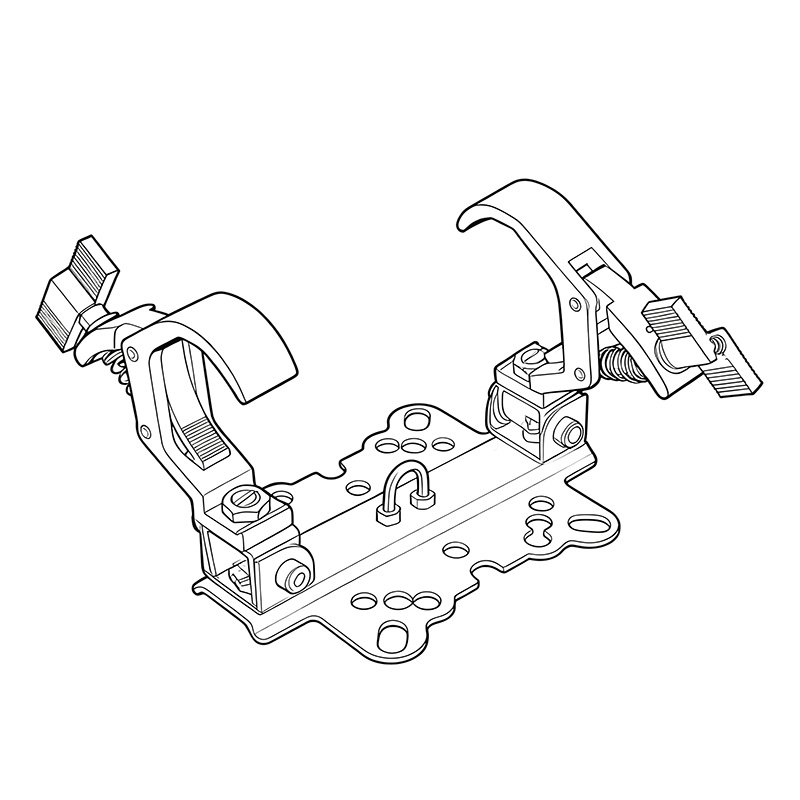
For overhead use, verify net weight, yoke/clamp interface, secondary safety point, orientation limits and accessory retention. Have competent personnel follow venue rules and the manufacturer’s instructions. The AOLAIT rigging safety guide provides further questions, although a static fixture’s exact hardware must still come from its own manual.
Service access matters in a fixed installation. Ask how to clean optics and filters, replace common wear parts, update firmware and obtain exploded diagrams or spare-part codes. Confirm whether opening a panel affects warranty or compliance obligations.
10. Match the Fixture to the Application
Theatre
Prioritize clean framing, useful lens choices, low-level dimming, quiet operation and repeatable color. Confirm access for refocusing and maintenance above the auditorium.
Broadcast or video studio
Prioritize camera-tested flicker, TLCI/TM-30 evidence, CCT/tint matching, noise at microphone positions and a stable long-run mode.
Conference hall
Prioritize lectern and presenter coverage, spill control on displays, simple control, quiet running and flexible zoom if room layouts change.
Church or house of worship
Consider spoken-word microphones, streaming cameras, volunteer-friendly control and changing platform layouts. Do not assume one fixture setting satisfies both the room and the camera.
Museum or gallery
Define conservation, exposure, thermal, mounting and visual-comfort requirements with the institution’s specialists. Request spectral and control evidence appropriate to the object; do not infer suitability from CRI alone.
11. Run a B2B Sample Acceptance Test
- Match the sample model, LED engine, lens, firmware and accessories to the quotation.
- Inspect housing, yoke, connectors, safety point, labels, cables and packaging.
- Set the real throw and target; measure field size and illuminance.
- Photograph beam uniformity and focus at the required positions.
- Operate every shutter, lens adjustment, iris and gobo accessory.
- Review color evidence and compare multiple samples if batch consistency matters.
- Record camera tests at production frame rates, shutters and dimmer levels.
- Run the fixture long enough to observe stable temperature, output and fan behavior.
- Patch all required control modes and test fades, signal loss and power recovery.
- Review maintenance, spares and documents; record pass, fail and corrective actions.
The approved sample should be identified in the purchase specification. If production units may use a different LED engine or firmware, define how changes are disclosed and reapproved.
12. Send a Complete RFQ
| RFQ item | Information to include |
|---|---|
| Project | Venue type, application, installation date and destination market |
| Geometry | Throw distances, target sizes, mounting height and lens/zoom preference |
| Light quality | CCT, color system and required CRI/TLCI/TM-30 evidence |
| Camera | Camera models, frame rates, shutter settings and acceptance test |
| Optics | Field quality, shutter, gobo, iris and focus requirements |
| Control | DMX modes, connector, RDM requirement and dimming behavior |
| Mechanical | Quantity, weight limit, clamp/safety method and service access |
| Documentation | Current manual, photometrics, declarations and model-specific test reports |
| Commercial | Sample terms, MOQ, lead time, packaging, spares, warranty and after-sales process |
For EU-bound orders, document review may include applicable legislation such as the European Commission’s Low Voltage Directive 2014/35/EU and relevant standards. IEC 60598-1:2024 covers general luminaire requirements and tests. Applicability depends on the product, market and conformity route; these links do not certify a particular fixture.
Frequently Asked Questions
What beam angle do I need for a theatre profile light?
Calculate it from throw distance and target size, then allow for the manufacturer’s beam/field definition. Give both dimensions to the supplier and validate the proposed fixed lens or zoom position with a sample.
Is a zoom profile spotlight better than a fixed-lens model?
Not automatically. Zoom is useful for changing rooms and rental work. A fixed lens can be practical for a known position. Compare output, field quality, weight, adjustment and cost at the actual angle.
How much wattage should an LED profile spotlight have?
Do not choose by wattage alone. Specify the required field size and illuminance at the real throw, then compare photometric evidence and a sample. Optics and thermal behavior affect usable output.
Is high CRI enough for studio use?
No. Review CCT and tint, TM-30 or spectral evidence, TLCI where relevant, fixture matching, dimming and flicker. Test with the production cameras and intended settings.
Does “flicker-free” guarantee clean high-speed video?
No. The result depends on dimming level, PWM or driver behavior, frame rate and shutter. Ask for test conditions and repeat the test with your camera workflow.
Do static LED profile lights support DMX and RDM?
Many support DMX; RDM and channel functions vary. Verify the current manual, connector format and control modes for the exact model. Do not assume a feature applies across a product family.
What should distributors request with a sample?
Request the exact quoted configuration, current manual, photometric/color evidence, control chart, packaging, labels and applicable documents. Include an acceptance sheet and the expected production quantity.
What spare parts should be discussed before a bulk order?
Ask for recommended parts based on the fixture design and service model: fans, control components, cables, lenses or other replaceable assemblies as applicable. Confirm part codes, procedures, availability and warranty handling in writing.
Request a Sample Against Your Venue Specification
Send AOLAIT your venue type, throw distance, target size, lens preference, camera settings, noise limit, control system, destination market and expected quantity. The team can recommend current static LED profile models for comparison and prepare a sample/RFQ response. Start through the AOLAIT contact page.